Introducing Speaker Feedback - collect anonymous feedback from your audience
AWS Amplify Hackathon Submission
Backstory
I work as a Developer Advocate, and one of the things I do is speak at events. Now I always seek to improve myself and grow as a public speaker, so I thought it would be cool to create an app to collect feedback from my audience easily. After a relatively short time, I built speakerfeedback.xyz!
Let's take a look at how I built it!
The Design
In this app, there are two users that we need to make happy: the speaker and the audience.
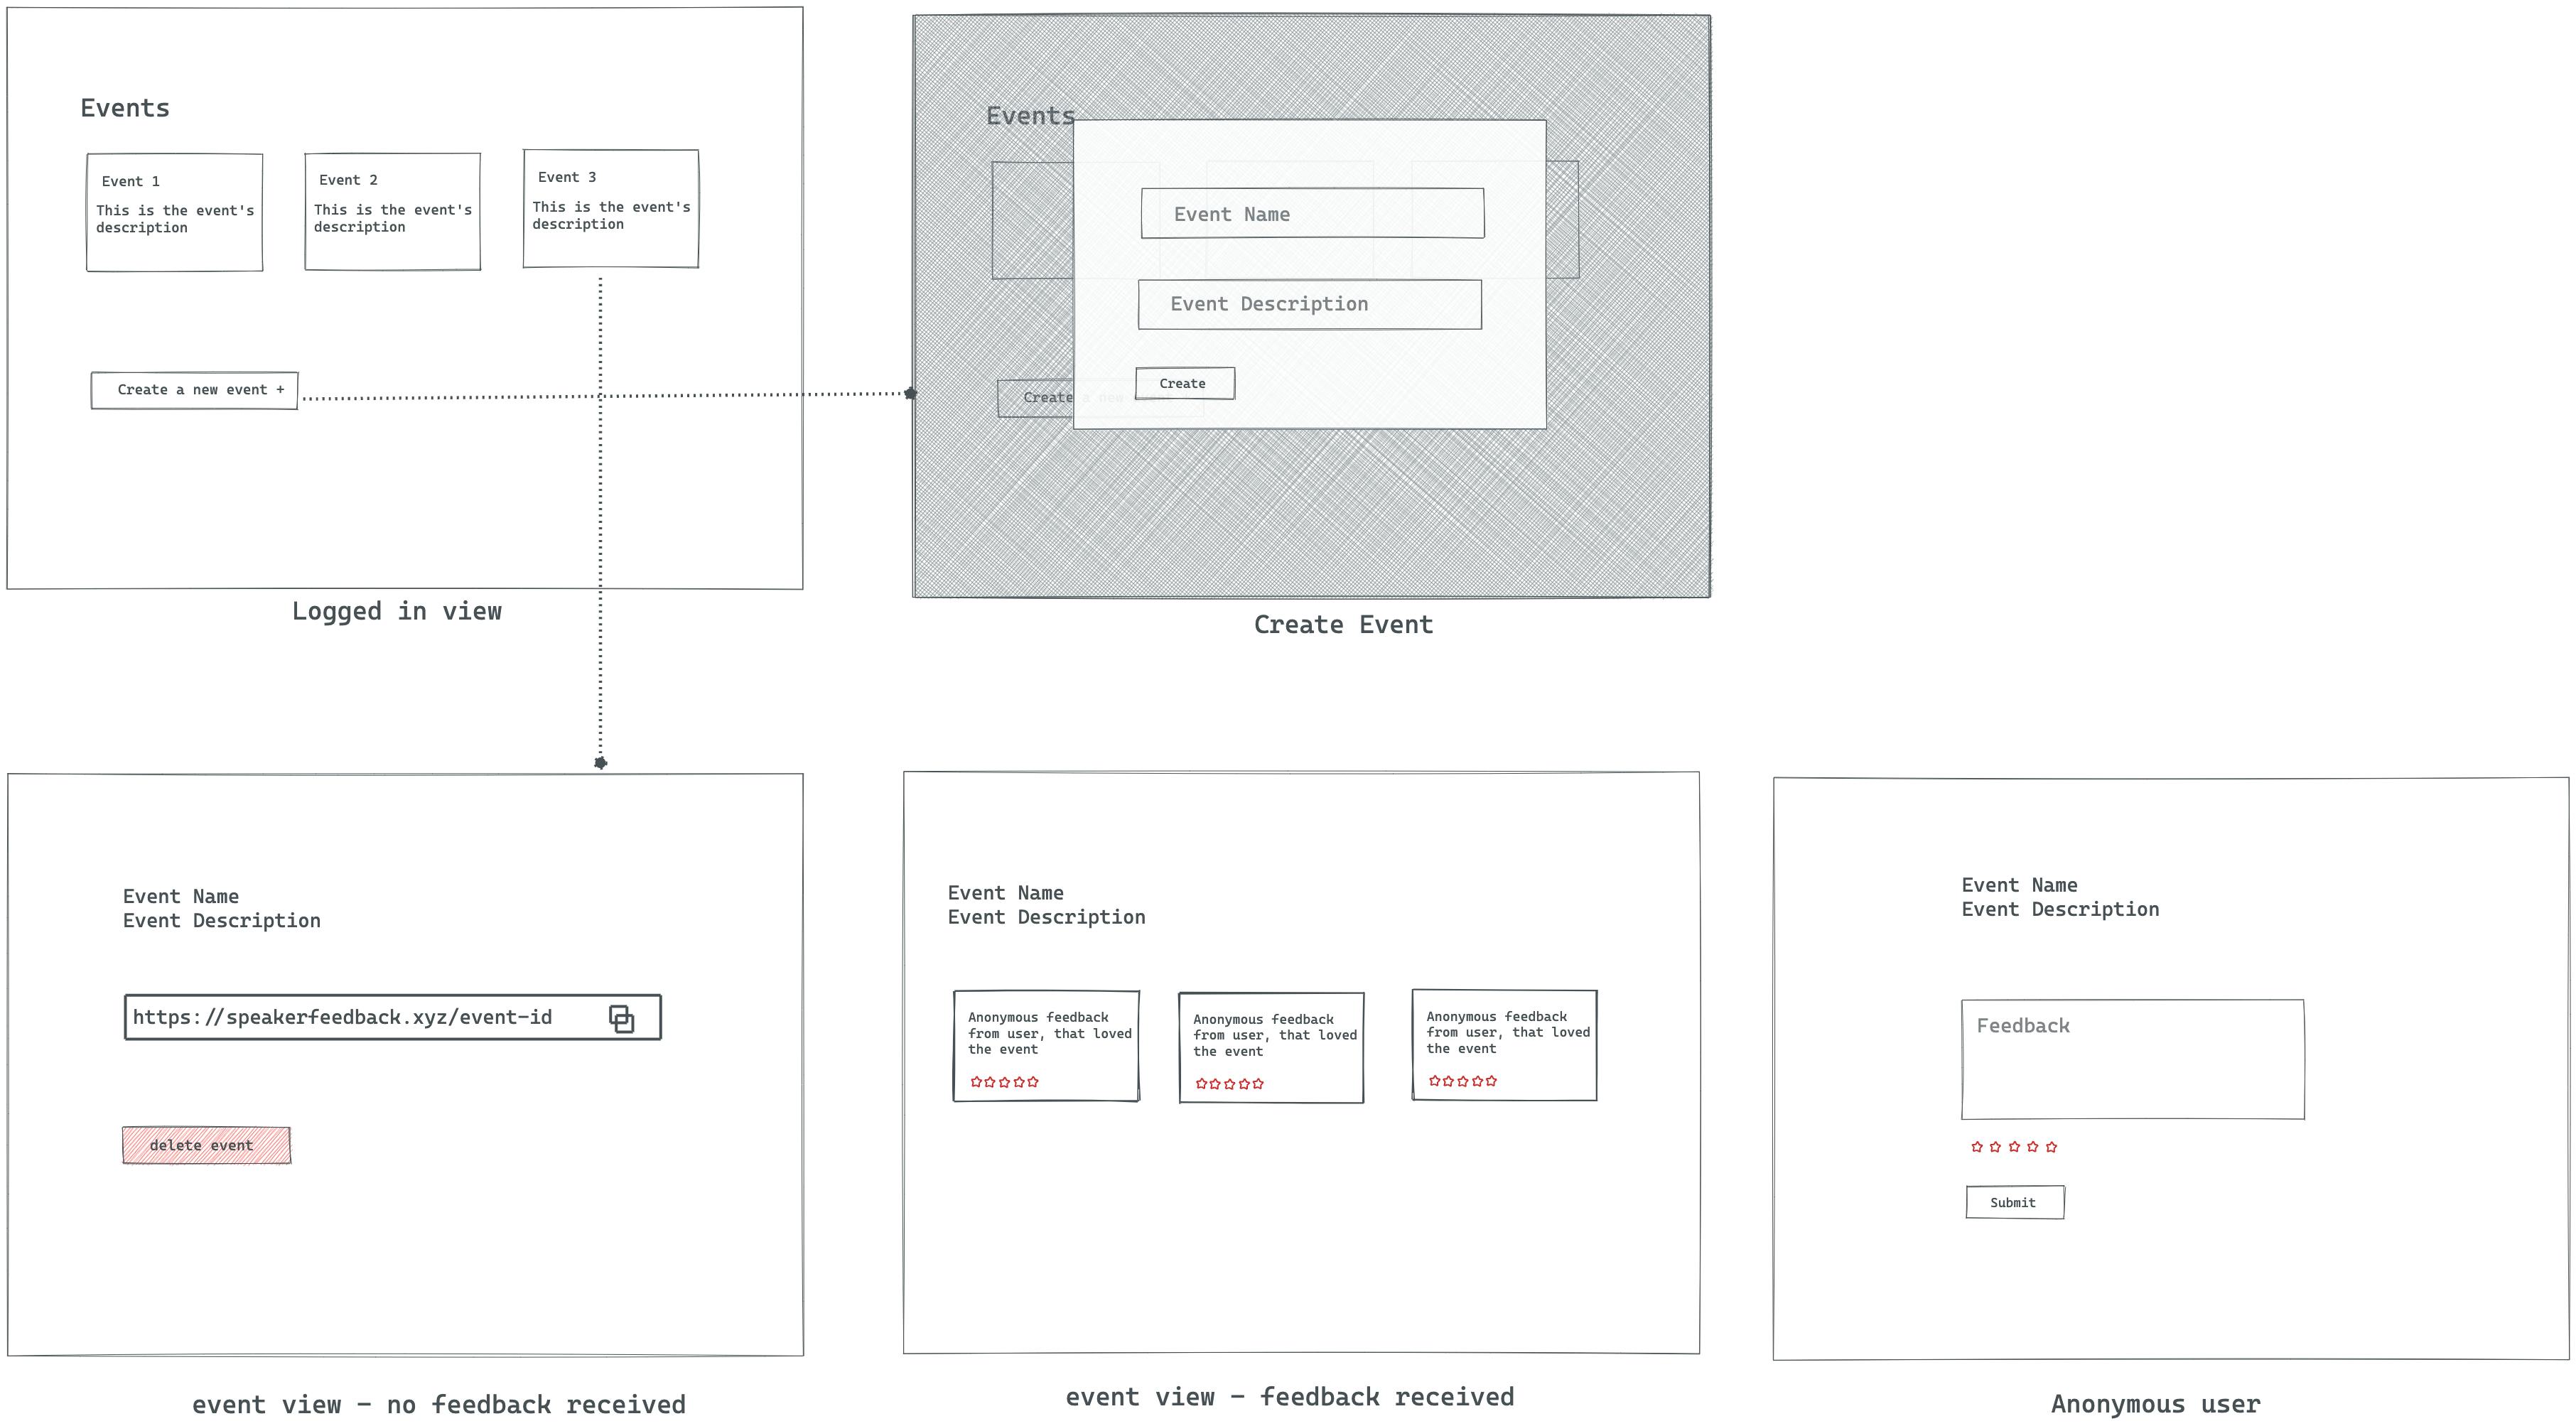
For the speaker, I wanted to make the experience for receiving feedback as frictionless as possible, so here are the steps that a speaker will go through to achieve their goal:
- Create an event by giving it a name and providing a description
- Get a unique link for the event that speakers can easily share
On the other hand, the person submitting the feedback doesn't want to spend a long time expressing how they felt about the event. So an anonymous user will see a small text box and rating component where they pick 1-5 stars.
Here's what I had in mind:

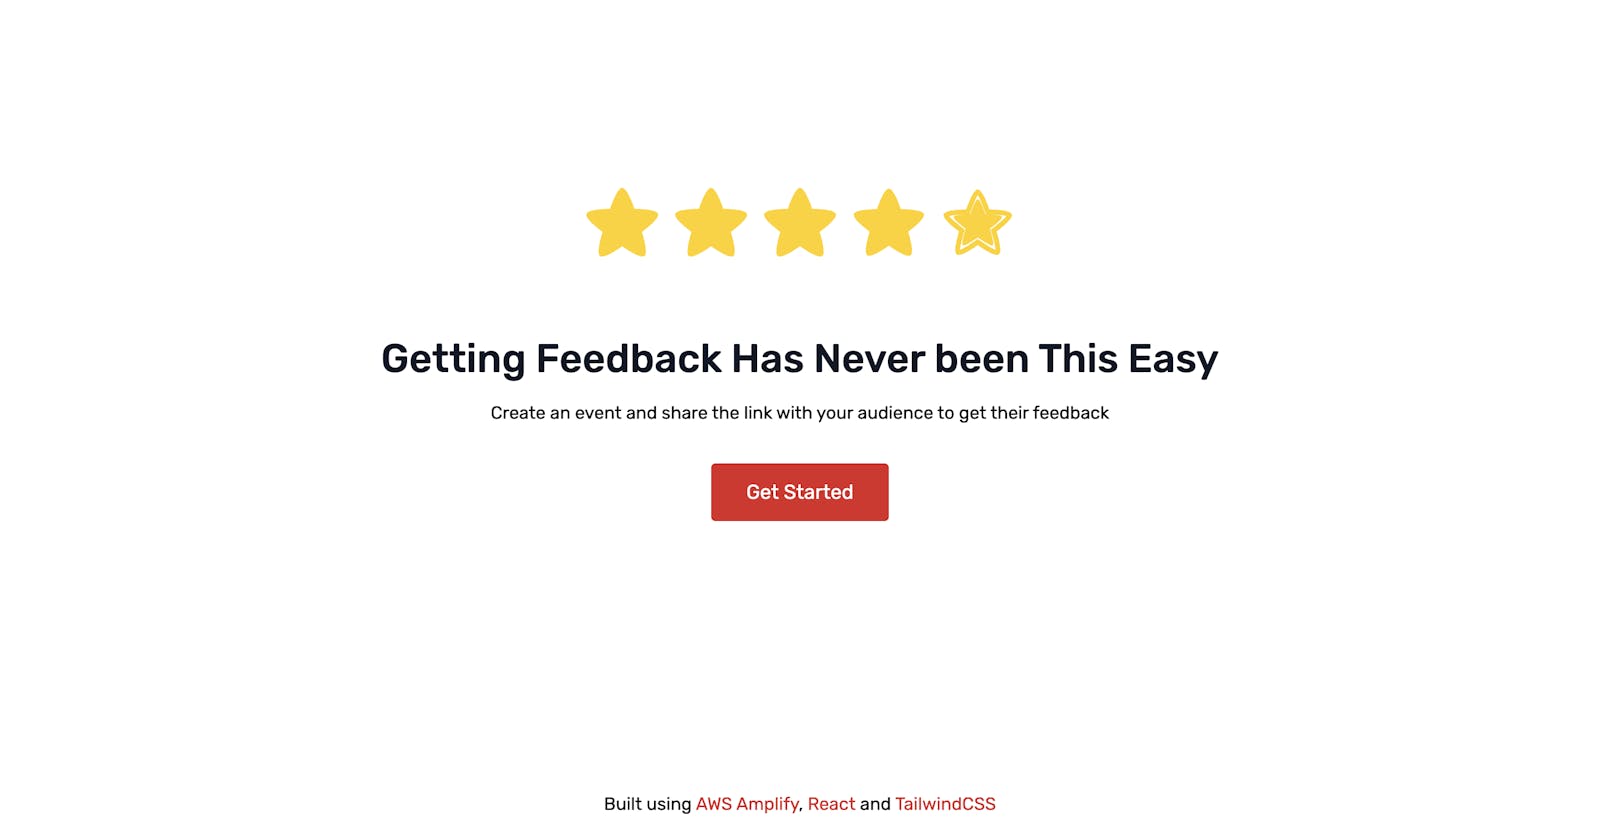
And this is what the final product looks like 🚀
How I built it
To build this project, I used React.js as the frontend framework, TailwindCSS for styling, and a combination of AWS Amplify services:
- GaphQL API
- Authentication
- Hosting
Adding authentication and deploying the app was super easy.
To add authentication, you run amplify add auth. I chose the default configuration, so it took like 3 clicks).
For deploying the app, you run amplify add hosting( I picked continuous deployment) + domain setup was a breeze.
The more challenging part of this app is the API. This is because we needed to have multiple ways to authenticate. We want logged-in users to create events, delete them, and only then be able to see the anonymous feedback. ON the other hand, we wanted logged-out users to be able to fetch the event.
Thankfully, the Amplify CLI made this process super simple. I used this repo by @dabit3 as a guide. Now let's take a look at the GraphQL schema:
type Event
  @model
  @auth(rules: [{ allow: owner }, { allow: public, operations: [read] }])
  @key(
    name: "byUser"
    fields: ["name", "timestamp"]
    queryField: "eventsByUser"
  ) {
      id: ID!
      name: String!
      description: String!
      timestamp: AWSTimestamp
      feedback: [Feedback] @connection(keyName: "byEvent", fields: ["id"])
}

type Feedback
  @model
  @auth(
    rules: [
      { allow: owner } # owner can update, delete, and read
      { allow: public, operations: [create] } # unauthenticated users can create
    ]
  )
  @key(
    name: "byEvent"
    fields: ["eventID", "timestamp"]
    queryField: "feedbackByEvent"
  ) {
      id: ID!
      rating: Int!
      content: String!
      eventID: ID!
      owner: String!
      timestamp: AWSTimestamp
      event: Event @connection(fields: ["eventID"])
}
A quick summary of this schema:
- An event has the following fields:
id,name,description,timestampand an array of typeFeedback - A Feedback has the following attributes:
id,rating,content,ownerand is linked to an event using aneventID - For each type, we defined the operations we can do:
- The creator of an event can perform all CRUD operations, while
public(which refers to the logged-out users) can only fetch data about an event. - Logged out users can create feedback, while logged in users can do all CRUD operations.
- The creator of an event can perform all CRUD operations, while
- The
@keyis a sort key, so when we fetch data, we can retrieve it in the same order
Important Observations while building this app
Needed to update the GraphQL Queries and Mutations to fit my needs
AWS Amplify auto-generates GraphQL queries, mutations, and subscriptions based on the data model. It's very convenient, but for my use case, I needed to modify the queries and mutations; otherwise, there would be authorization errors.
Deployment
Deployment and adding a custom domain were smooth. However, I got an "access denied" error when trying to access an event at https://speakerfeedback/event/:id without being logged in. Similar to this issue. The solution was to set up a redirect by going to App settings > Rewrites and redirects.

Possible Improvements for the app
This project is an MVP, and to improve it, here are a couple of ideas:
- Upload an image for the event (using amplify Storage).
- Generate OG image for each event based on the event's title and description
- Allow users to edit event details.
- Add pagination and filtering when viewing feedback for the event.
- Add a pole model and get anonymous live votes using Subscriptions (possibly add a countdown timer for the poll like Twitter).
- Add a limit on the number of events that a user can create. If they want to create more, they need to pay.
Conclusion
This project was built in a relatively short time, and I'm surprised by how fast I could set up an entire backend by just using a CLI. I'm super excited to learn more about serverless, especially CDK, since it looks exciting. Also, here's the code for the project: github.com/m-abdelwahab/speaker-feedback

